Grain-Free Cinnamon Rolls
Grain-Free, Gluten-Free, Nut-Free
Is there anything better than the smell of freshly made grain-free cinnamon rolls on a Sunday morning? The answer is a decided "no." We worked hard to make this crowd favorite, a favorite for a crowd. Meaning we made it gluten-free, grain-free, AND gut-free, so everyone can indulge - no worries! These ooey gooey cinnamon rolls won't last long, so better run and grab one!

Ingredients
- 2 ¼ cups Otto's Naturals - Cassava Flour
- 1 package (2 ¼ teaspoons, 7 grams) rapid rise or active dry yeast
- 1 cup of milk
- ¼ cup sugar or granulated maple sugar
- 1 teaspoon salt
- 3 eggs
- 6 Tablespoons unsalted butter, melted
Cinnamon Filling
- ¾ cup packed light brown sugar, maple sugar or coconut sugar
- 2 teaspoons ground cinnamon
- 5 Tablespoons unsalted butter, softened
Icing
- ½ cup powdered sugar of choice
- ½ teaspoon vanilla extract
- 1-3 Tablespoons milk of choice
Instructions
- Add cassava flour and salt in a mixing bowl of a stand mixer on low for a few seconds using the paddle attachment.
- Gently heat the milk and sugar in a small saucepan over medium/low heat until the sugar is dissolved (stirring while heating). Heat the mixture between 120°F - 130°F for rapid rise yeast, or 100°F - 110°F for active dry yeast. Aim for the lower end of the temperature range; milk should be warm, but not hot to the touch (or it will kill your yeast). Sprinkle the yeast on top and incorporate the yeast into the milk/sugar mixture using a small fork or whisk. Let sit for 5-20 minutes. There should be a good amount of frothing to show the yeast is active and ready.
- With the stand mixer on low, pour the liquids into flour and mix until well incorporated.
- Add eggs, one at a time. Continue mixing until a dough begins to form.
- Pour in the melted butter and mix until the dough is cohesive and soft.
- Knead the dough on medium speed for 8 minutes. Every 2-3 minutes during mixing, stop the machine, scrape dough down off the bowl & paddle, and then continue kneading. Check the dough while scraping it down. If the dough is too sticky, add additional flour 1 tablespoon at a time, mixing in thoroughly before determining if more flour is needed. If the dough seems too dry, spritz with water from a spray bottle a couple of times or add a ¼ tsp of water at a time, mixing well before determining if more water is needed. You should be left with a soft workable dough.
- Turn the dough out onto a lightly floured surface. Lightly dust hands with flour and knead the dough a few times by hand to be sure it’s smooth. Form the dough into a ball. Cover and set aside.
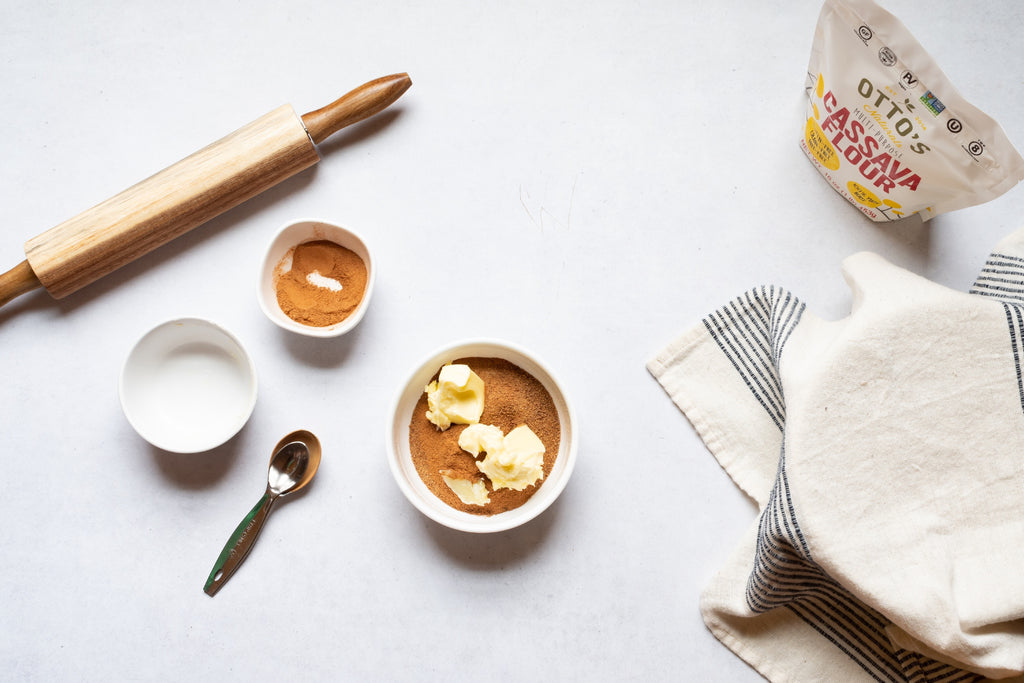
- To make the cinnamon filling: In a small bowl, combine the brown sugar and cinnamon. Combine softened butter with cinnamon mixture and mix well.
- Roll out the dough into a 10x16-inch rectangle on a lightly floured Silpat. The dough should roll out approximately ¼ inch thick. (Lightly flour the rolling pin as needed. The dough should not stick to the rolling pin.)
- Spread the filling on top, patching any cracks in the dough as you go. Make sure to spread the filling to the edges so all of the rolls have an even amount of filling in them.
- Pick up the long side of the Silpat and start to roll the long side of the dough as tightly as possible. Continue to use the Silpat to push the dough in order to continue to finish rolling into a log. If any cracks form, patch them up as you go. This is more prone to happen in the first roll or two.
- Using dental floss, cut the log into 11 equal size pieces. Begin by sliding the dental floss under the log while gently lifting it. At each cut location, cross the floss ends over the top of the log and pull to cut the piece. Pieces are approximately 1.5” long
- Transfer the pieces to a 9” round glass baking pan. Cover the dough with plastic wrap and let it rise for about 1 hour.* While the dough is rising, preheat the oven to 350°F.
- Cover the rolls with tin foil and poke a few holes in the top to vent. Bake for about 35 minutes. Remove from the oven and allow rolls to cool a bit before icing. The hotter the cinnamon rolls are, the more the icing will sink in.
- To make the icing: In a small bowl, mix powdered sugar and vanilla. Add milk ½ tablespoon at a time until a smooth and slightly runny mixture is formed. Drizzle the icing over the cinnamon rolls.
- Enjoy!
*Note: Yeast is a living thing, and it's very temperamental. Your dough might need more than an hour to rise. Be patient and just keep an eye on it. These won't double in size during the rise, but you'll want to see some substantial plumping before popping them in the oven.


Tips for Making Gluten-Free Cinnamon Rolls
Don’t be intimidated by the thought of using a gluten-free yeast dough for your cinnamon rolls. The most important thing in making these cinnamon rolls is the gluten-free flour you choose. In this recipe, we highly recommend using Otto’s Naturals Cassava Flour. Not all cassava flour performs the same, but you can count on Otto's again and again because it is the highest quality on the market and is specifically designed to act as closely to all-purpose flour as possible.
The next important ingredient is the yeast. For this one you can use either Rapid Rise or Active Dry yeast. We recommend Red Star brand if you can find it. Watching for the yeast to foam after adding it to the milk + sugar mixture will indicate if it's still alive. If you don't see any indication of bubbles or activity, then try with new yeast or cooler milk.
Temperature and moisture are also very important in yeast baking. Yeast grows and rises in warm and moist environments. However, if the milk is too hot, it will kill the yeast. And if you do not have a warm enough environment, the yeast will not rise correctly (or it will take a very long time.)
Follow the ingredients and the steps and we’re sure that you’ll have fantastic results with these Grain-Free Cinnamon Rolls!